Instructional Bleaching Steps
Step 1
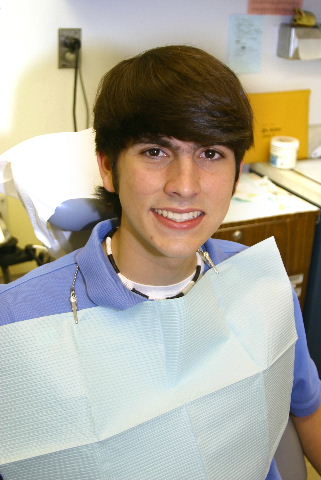
Prior to considering bleaching of your teeth, the best step to take first is to get an examination by a dentist to determine if you are a good candidate for bleaching, or if there are any contraindications for tooth bleaching.
In addition to examining your teeth, the dentist will examine your smile. There is a special form on this website to see the types of questions that will be addressed during this examination (see Smile Analysis Form here).
Step 2
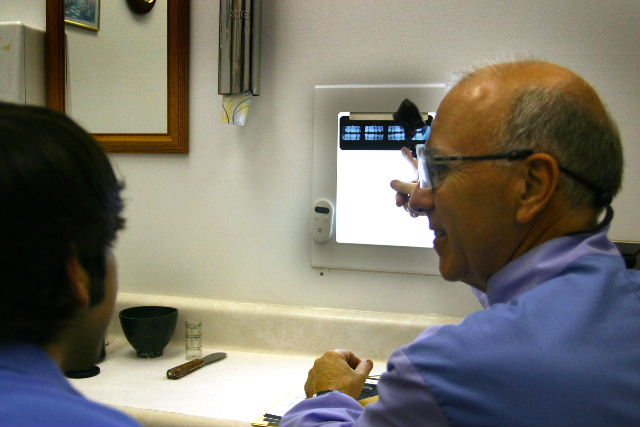
Generally the examination includes xrays of the teeth. Xrays (radiographs) and the examination are the only way to determine if a dark tooth is related to an abcess, decay, or some internal dissolving problem which needs a different treatment from bleaching.
Step 3
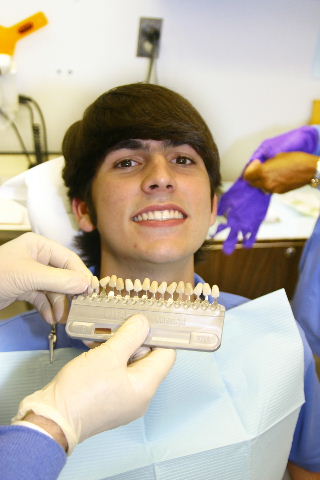
The dentist will determine the current color or shade of your tooth using a series of different colored artifical teeth to determine a color match. Other color measuring devices may be used.
Step 4
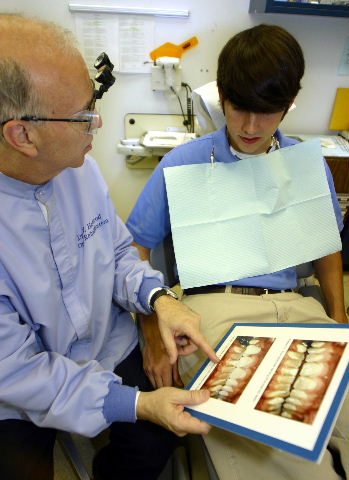
The dentist will discuss your tooth discoloration, and what you might expect as an outcome of bleaching. Often only the top teeth are treated first in order to see the amount of color change when compared to the bottom teeth.
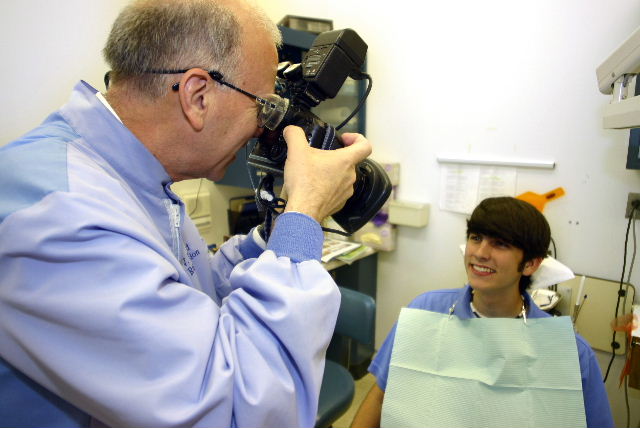
Step 5
If you are a good candidate for bleaching, then the dentist may take photographs of your teeth prior to treatment.
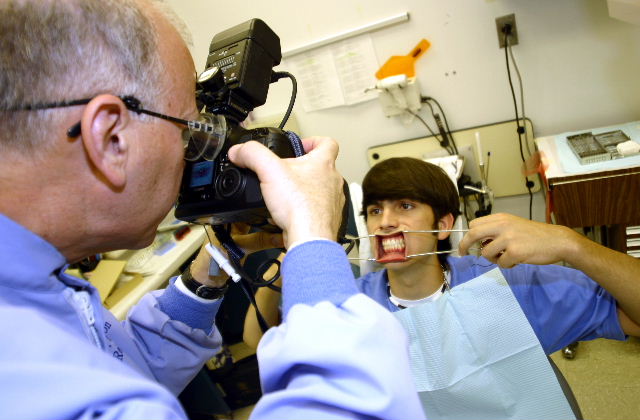
Step 6
In addition to photographs of your smile, the dentist may take photographs of your teeth with your cheeks retracted so the entire tooth is exposed.
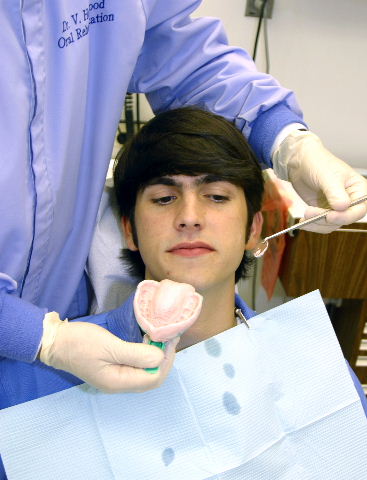
Step 7
By far the most popular bleaching technique is Nightguard vital bleaching, or at-home bleaching using a custom-fitted carrying tray and carbamide peroxide. The traditional steps for making a tray involve first making an alginate impression of the teeth to be bleached.
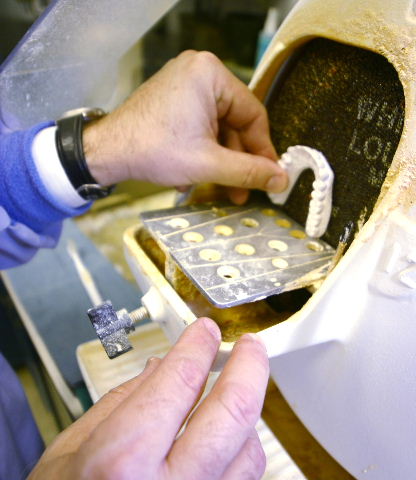
Step 8
From this impression, and cast or model of the teeth is developed.
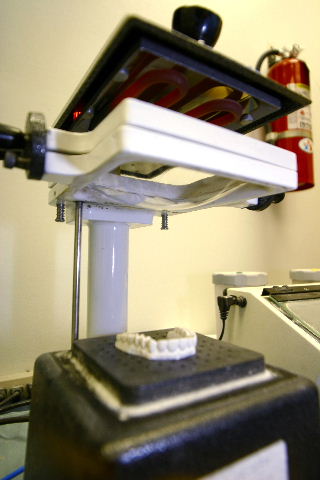
Step 9
The bleaching tray is made from a soft clear material on this model using a machine to form a vacuum and pull the heated tray material around the cast.
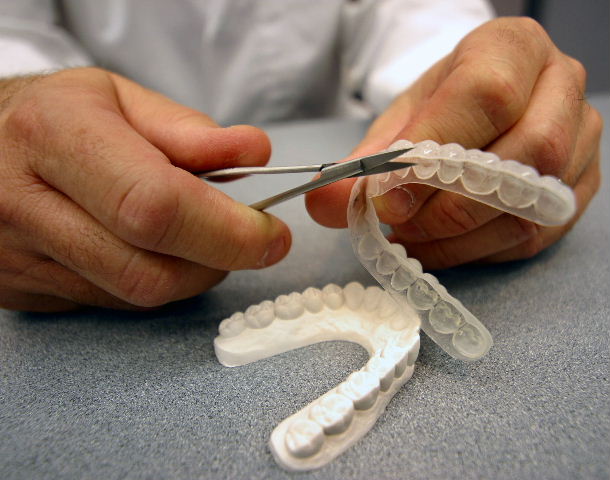
Step 10
The tray is trimmed to fit the patient’s mouth using one of many designs determined by the dental office.
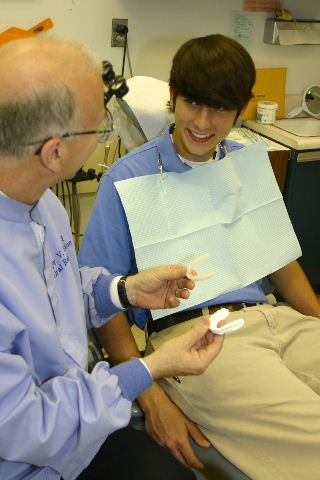
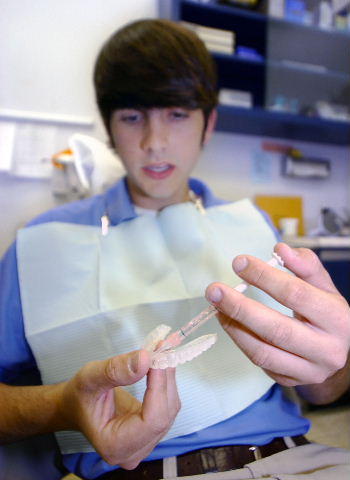
Step 11
Either at that appointment, or later, the dentist will present the tray made on the model of your teeth ready to be fitted in your mouth.
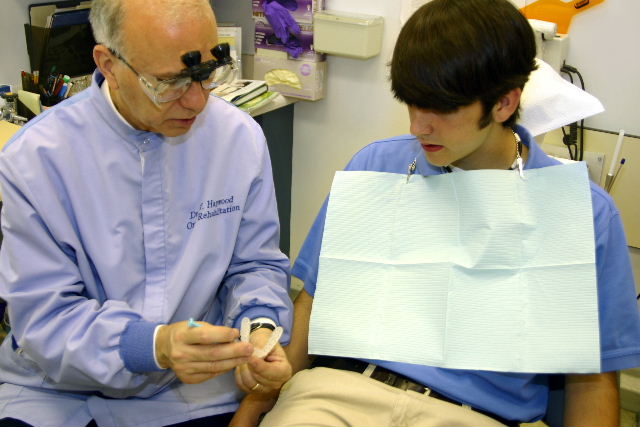
Step 12
The dentist or dental auxillary will go over the instructions on how to load the tray, when to wear it, and how long to wear it. At-home bleaching generally takes 2-6 weeks of nightly wear, but can happen in a matter of days.
Step 13
You only need to place a small amount into the tooth molds of the tray. It is best to sleep in the loaded tray, or at least wear it 2-4 hours during the day.